Tampilkan postingan dengan label hair. Tampilkan semua postingan

Selasa, 09 Agustus 2011

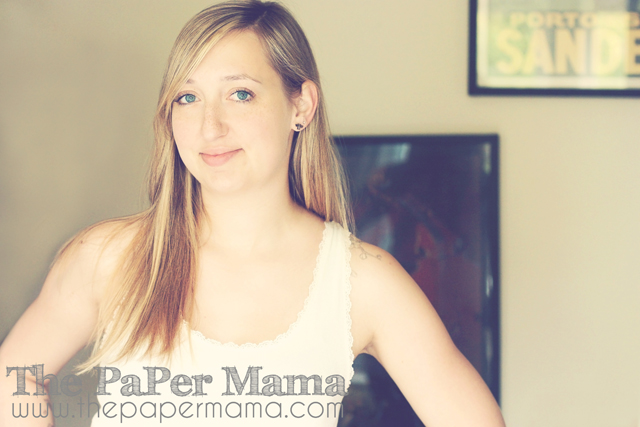
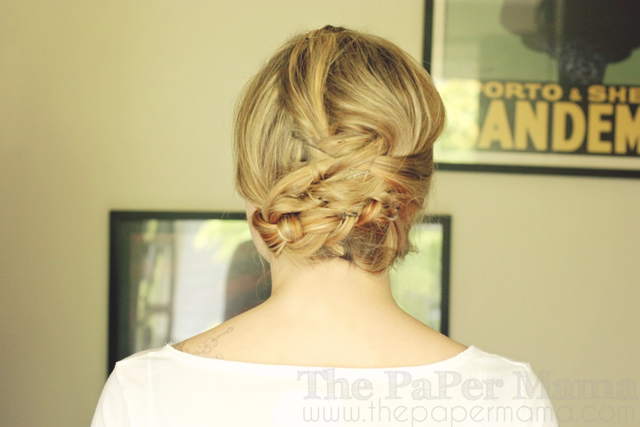
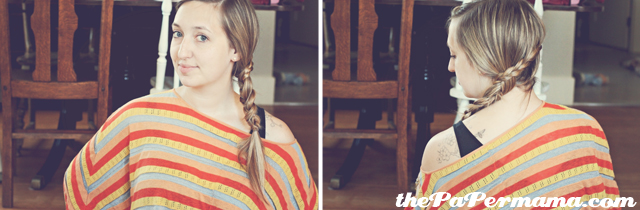
Hair Tutorial: Wrap-around side-braid

Hey! Missed you guys! Well... I'm back from BlogHer... BUT, I'm still recovering. I'll blab all about my wonderful trip tomorrow and the next day... and the next day... and the next... :) For now... how about another hair experiment....


So... I do this hair style A LOT. It's nothing fancy... it's more of a get this hair outta my face style. :) BUT, it's cute and simple to do. Simple is a SUPER plus for me. I have really long hair... but, I'm completely weird and I don't usually like it down... So weird. So, up it goes.... The wrap-around side-braid shouldn't need any bobby pins... just 3 clear hair ties and some hair spray for fly-aways. 

Ok.... here goes...


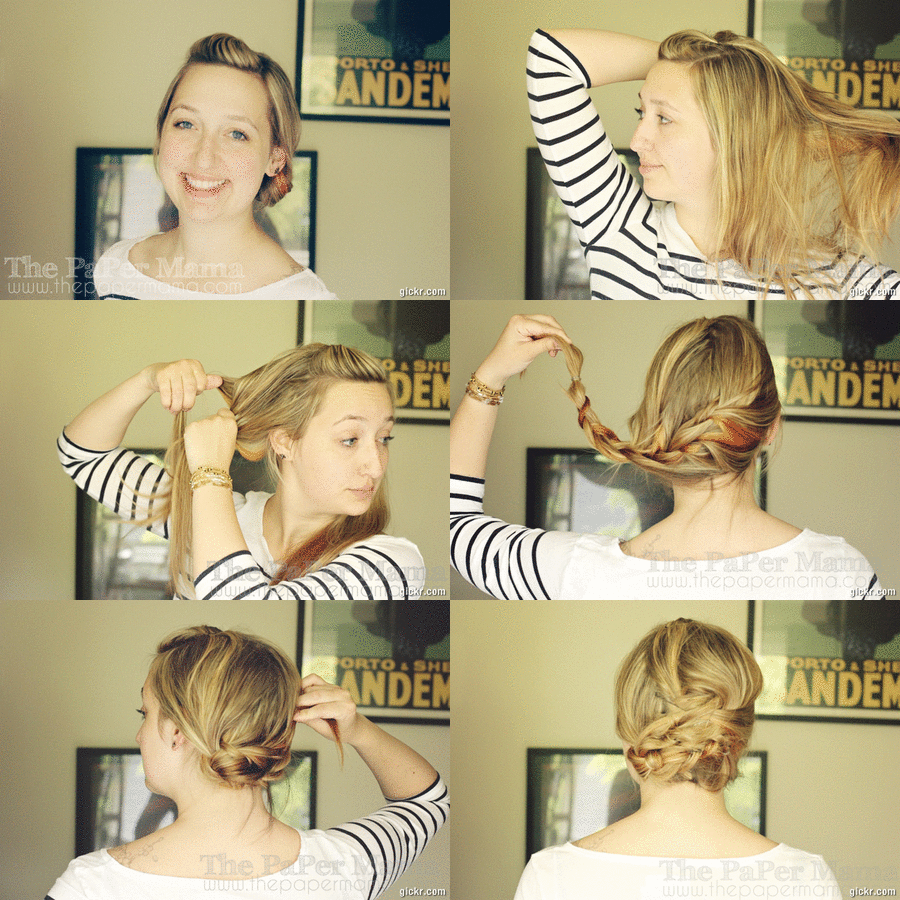
  1. Grab just a small chunk of your bangs right up against your part, I started on the right side of my head (if your bangs are super short... just let them hang and grab some hair behind them).
  2. Start braiding (Or, french braiding I guess). I braid to create a sort of crown of braid on my head... grabbing small chunks of hair to weave in and hold the braid up every couple of braids or so.
  3. When you get to the back of your head start braiding down to bottom of the opposite side of your head (for me this is the left side). When you reach the opposite side of your head: stop grabbing hair to weave in and just finish off that braid and put a hair tie on it.
  4. Split your hair in half in the back. Take the remaining hair on the right side and start french braiding the hair on the nape of your neck towards the left side. (This is a great step I take for me. My hair is super slick and always slips out if I don't do a second braid by my neck.) 
  5. When you get to the back left side of your head finish off the braid and put a hair tie on it.
  6. Now, with all of your hair on the left side split your hair into four pieces (the 2 braids will each count as a piece). And, you'll do a four chunk braid. I have no idea what this sort of braid is called... but, it makes my normally skinny braid SO much thicker. How about instead of me trying to explain it... just check out this image I found below. It really is simple once you get the hang of it. 
  7. That's it! You now have a super/amazing/awesome wrap-around side-braid. Ta-dah!
{Found here.}


If you try this hairstyle out and blog about it with a link back to me... let me know! I'd love to link you to this post to inspire others to create pretty hair!


Chelsey

Rabu, 03 Agustus 2011

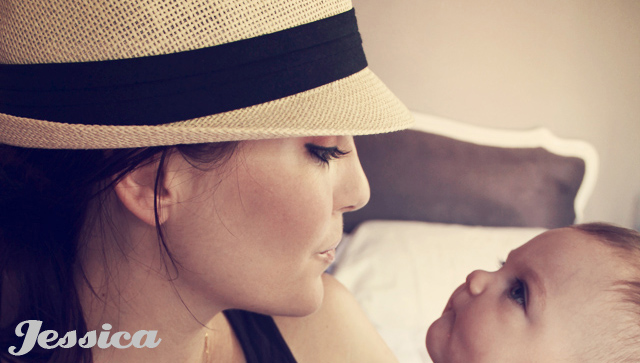
Guest Blogger: Jessica of Tart


Thank you Jessica for guest posting while I'm away at BlogHer! Please give Jessica and her sweet family a visit when you get a moment here: TART

.........................................................................................................................

Hi there! I'm Jessica from TART and so happy to be guest posting for the lovely Chelsey! I thought I'd share some of my hair tips with you guys.. they're not perfect but that's the point. They're the quick(lazy) tips and methods for achieving the looks I was going for and I hope at least one (or all three) of them will be something you'll want to try yourself and have fun with! 

1st- My more modern look. It's basically just a tip about how I have my hair cut, but I also share one simple way to spice it up with an accessory that I'm sure you've seen many times before. 
2nd- My 1950s pinup inspired look that I can't get enough of. This is my lazy method but I think it still looks just as cute as when I go all out and spend a lot of time on it. Note: if you have bangs like me you can curl them under (down towards your forehead, not up towards your part) and bobby pin them to achieve a quick, more authentic barrel look if you want. 
3rd- My 1920s flapper inspired look. I was trying to keep the video short and sweet so don't mind the fly-aways and too-loose pin curls. This is one of my favorite hairstyles for a night out on the town.
Thanks for watching and enjoy!


Guest Blogger: Jessica
................................

{If you have a Wordless{ish} Wednesday, please feel free to link it up below. BY the way: Shawntae from A Little King and I now share our Wednesday Linky's. :D. And, feel free to link up to these blogs too... 5 Minutes For Mom, Parenting by Dummies, Project Alicia, Supermom, And Then She Snapped, and Live and Love Outloud.}


Selasa, 02 Agustus 2011

Off to BlogHer!


Alright lovelies! I'm off! I can't believe TOMORROW I'm flying out for BlogHer. It seems like I've been talking and blabbing about this FOREVER! And, now it's time! I have a super early flight.... so, today's post is short and sweet.

I got my hairs all prettied and my shoes and I are headed out. See you all next week! BUT... don't forget to visit! I have a some AMAZING bloggers lined up to guest post while I'm away. So much fun! Be sure to check it out! And, I may or may not pop in here and there on the blog... we'll see. ;) You will definitely find me wandering around on twitter for sure. Check it out: @thepapermama

Byeeeeeeeee!

Chelsey

Rabu, 27 Juli 2011

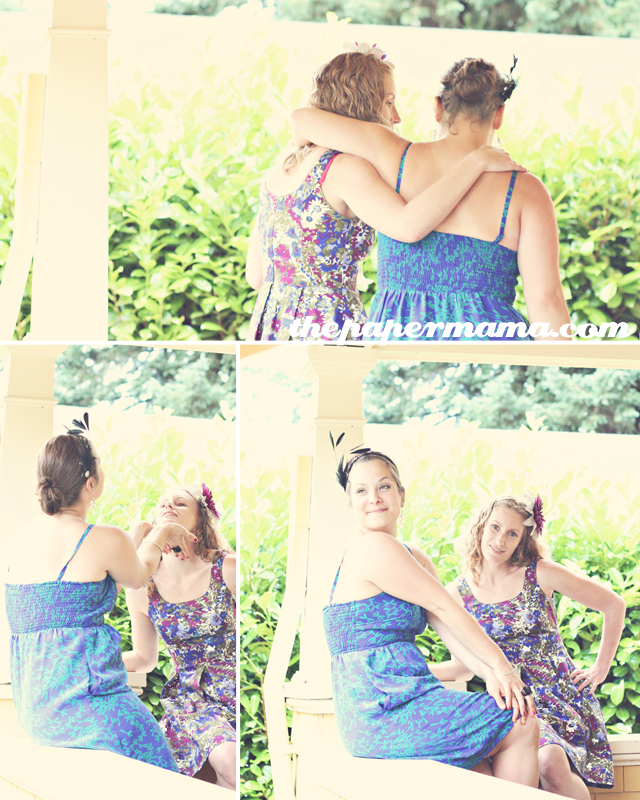
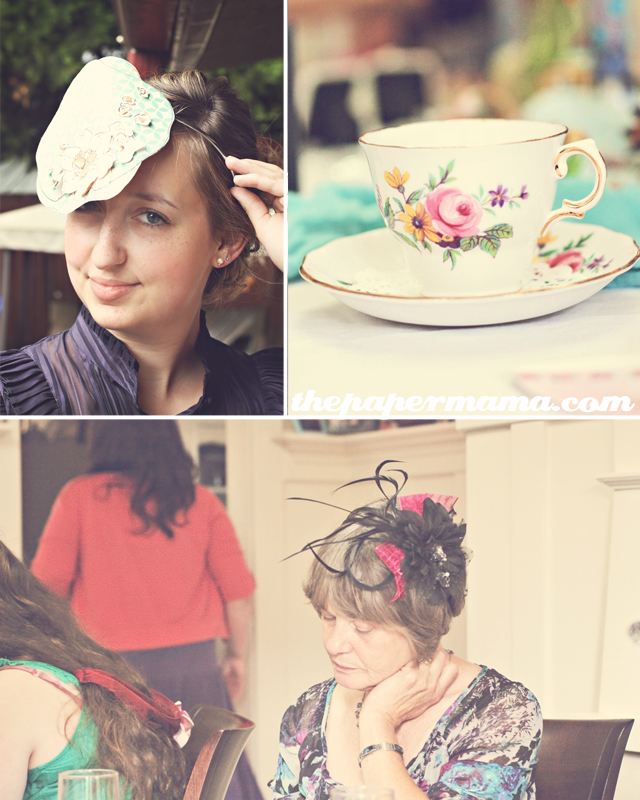
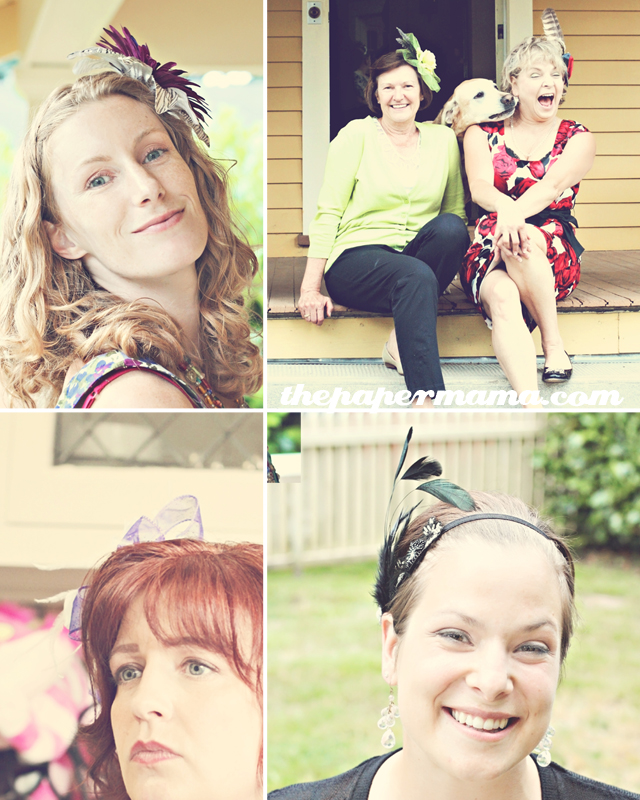
Wordless{ish} Wednesday: A lovely tea party.

{The bride-to-be and one of her BFF's}:

{Daughter-of-the-bride. ;)}:


{Pretty hair accessories with our tea please}:


{We celebrated my friend Nedra (one of my sister's BFF's) last week... she's getting married in a couple short weeks.... :) Yay!}

{If you have a Wordless{ish} Wednesday, please feel free to link it up below. BY the way: Shawntae from A Little King and I now share our Wednesday Linky's. :D. And, feel free to link up to these blogs too... 5 Minutes For Mom, Parenting by Dummies, Project Alicia, Supermom, And Then She Snapped, and Live and Love Outloud.}

Chelsey

Senin, 11 Juli 2011

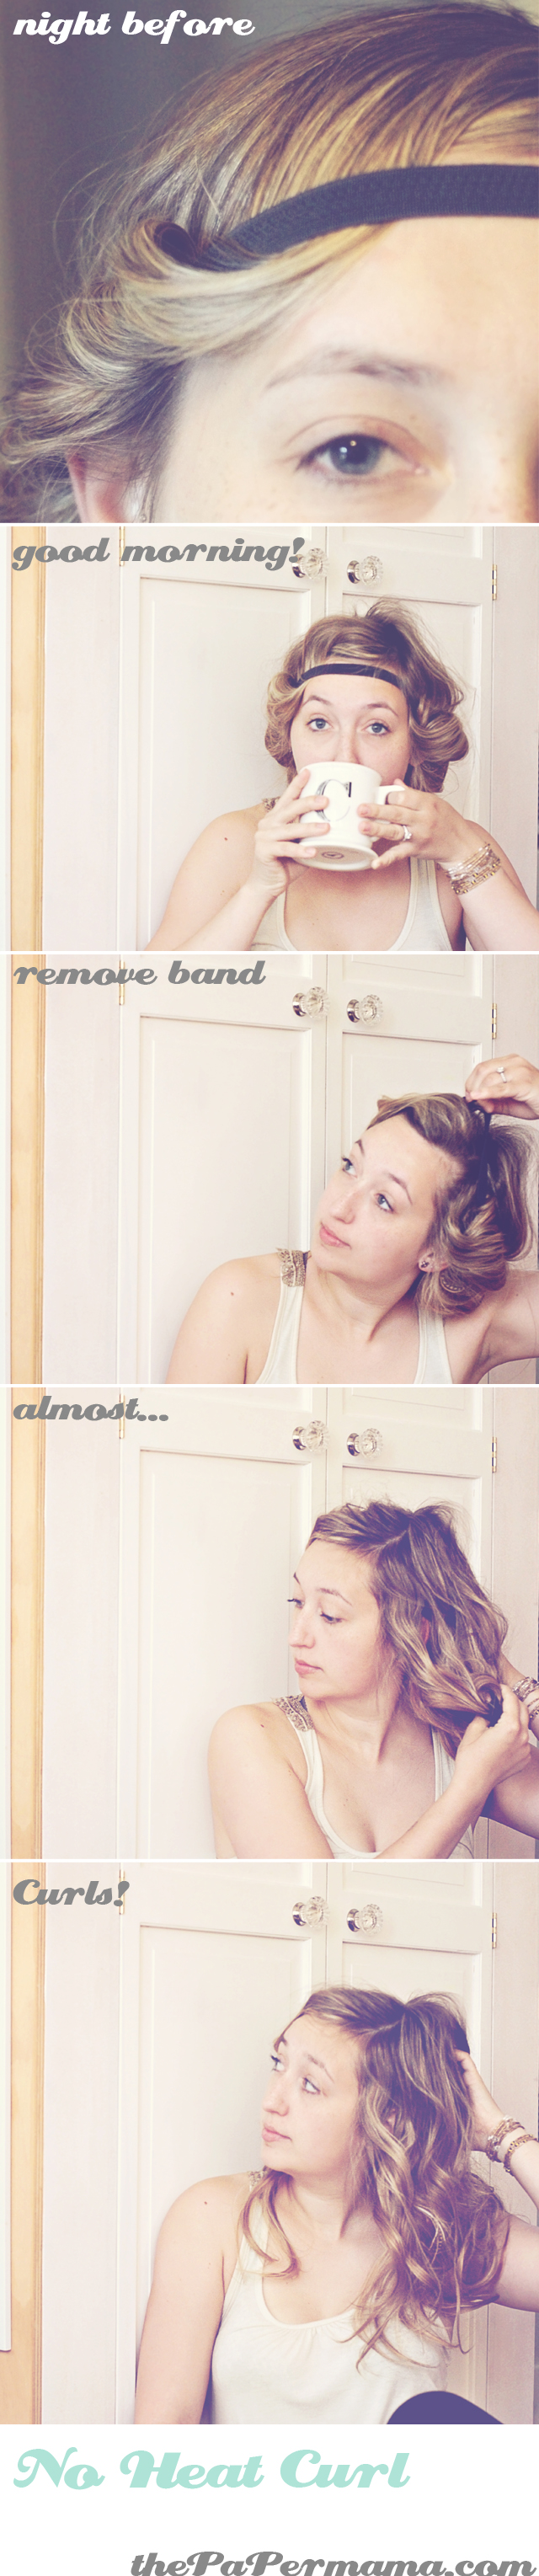
Hair Tutorial: No Heat Curl


So, my hair is SUPER stick straight. It hates holding a curl... hates it. So, I didn't think this no-heat curl thing would actually work... WELL: it did. BUT, with my hair it only lasted for about 3 hours. I only used hair spray... so, maybe if I put some product in my hair before-hand it will last longer? Hmm... Even though this curl didn't hold all day like I had hoped... it does give my flat hair a ton of volume! Sweet! Perfect for those summer updo's! I'll be doing this more often for sure!

I'm not really going to go into too much detail on how I did this... BECAUSE... this video tutorial is very well done and will explain it all!


In case you're curious... here's what my hair looks like naturally (well... it seems a little more fluffy in this photo since I just had a shower. :D). Super duper straight. Always.


Have you tried this? They have: Born of the Sea, 3 Men and a Mommy, Beautiful Blendings, Sweet Days with Elle and Mia, The Bear Naked Truth, The Peanut Gallery, Beaktweets, A Little King and I, IROCKSOWHAT, Velveteen, The Urban Cowgirl, Chic Homeschool Mama, and...


Chelsey
Selasa, 21 Juni 2011

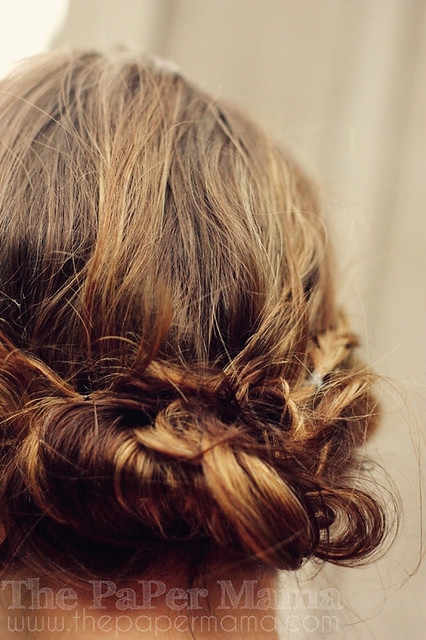
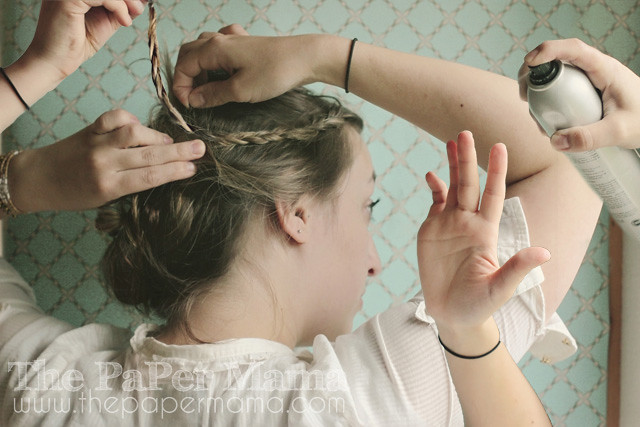
Hair Tutorial: Braided Bun


So, I've seen many versions of this braided bun on the web.... and, I thought I'd give it a try! Of course... I'm not a hair stylist and really don't know what the hay I'm doing... BUT, I do love having my hair up and pretty! So, here goes.... 


How I created my version of the Braided Bun...
- I did a "french braid" from the left side... to the right side.... (I honestly don't know how to french braid... I just guessed... very hard to do myself ;D). 
- I braided all the way from the left side to the end of my hair on the right side.
- Taking the braid I folded it back from the left... back to the right.
- Tucking in the end of my braid... I pinned my braid to the nape of my neck. Any fly-aways I pinned down... :)
- That's it! Hopefully I can get it a little more neat next time. Super easy though!

PhotobucketSweet Shot Day

And, if you all get a moment.... 
I'd LOVE a vote! :D
Vote For Us @ TopBaby Blogs! The Best Baby Blog Directory

Chelsey

.............................................................................

BlogHer 2011!

Selasa, 24 Mei 2011

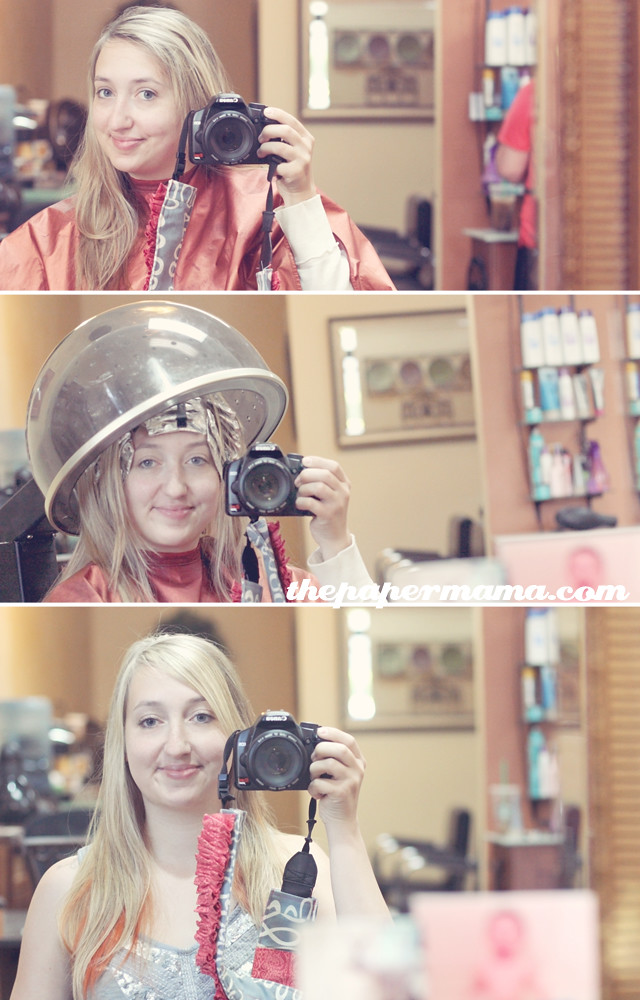
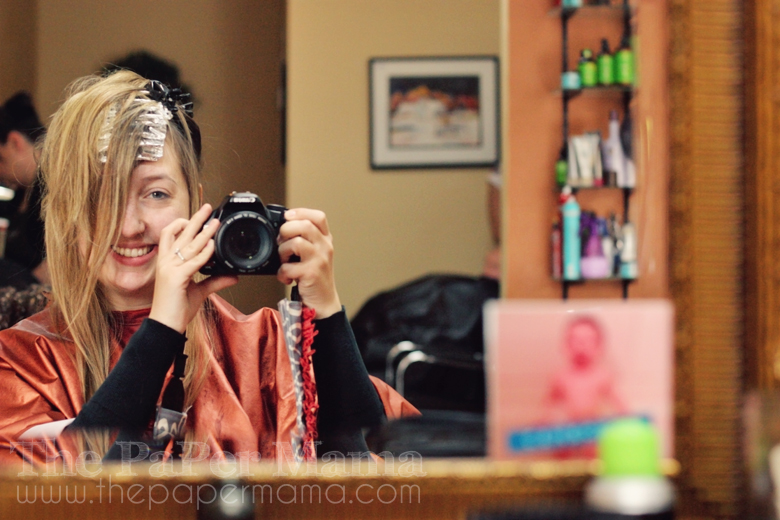
New hair color.

Before:

The process:

After:

AND... one more little detail:

Ahhhhh. I FINALLY colored my hair. I didn't realize how much I missed getting my hair colored. My grow-out was so long! I really have no excuse... since my mom is my hair stylist. ;D

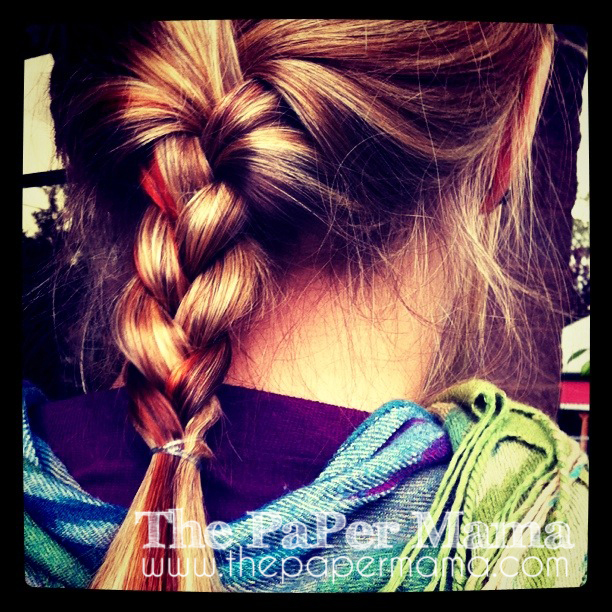
On Sunday we added one more detail to my hair... just a little coppery red to the back... We'll make it a little brighter next time... but, I love the little detail. :D By the way: I didn't cut my hair. It's SO freakin' long and REALLY needs to be cut... But, I'm now sure what I want to do yet. I might be growing out my bangs... I don't know. :)

ShutterLoveTuesdaysSweet Shot Day
A vote for my blog? Click below! Thanks!
Vote For Us @ TopBaby Blogs! The Best Baby Blog Directory
Chelsey

............................................................................

BlogHer 2011!

Selasa, 17 Mei 2011

Date Night.

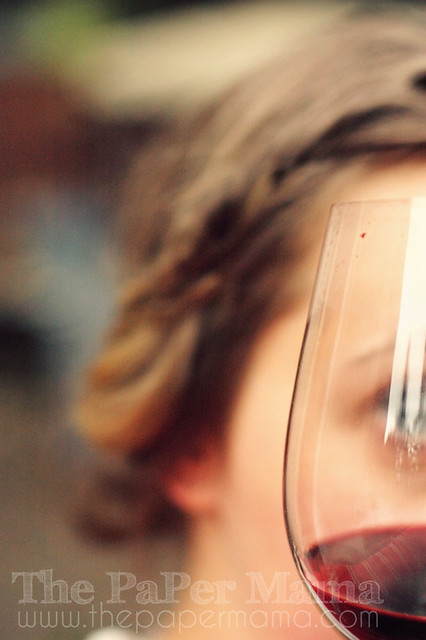
Mike and I were lucky enough to enjoy a date night this weekend! Thanks to my mom! We wandered over to a local wine bar and hung out with a couple of friends. It was fantastic. I very much missed Ruari (and yes... she's pretty much all we talk about)... but, it's great to get some time to hang out with the guy you married.... without mentioning anything about diapers... meltdowns... poop... It was nice.

I've mentioned before that Mike does not like getting his photo taken... I did manage to sneak in a quick photo of him drinking water on my phone. Hee.... :D


"The man who says his wife can't take a joke forgets that she took him." - Unknown. :D

ShutterLoveTuesdaysSweet Shot DayQuotography at {My}Perspective

the long road

A vote for my blog? Click below! Thanks!
Vote For Us @ TopBaby Blogs! The Best Baby Blog Directory

Chelsey

.............................................................................

BlogHer 2011!

Senin, 16 Mei 2011

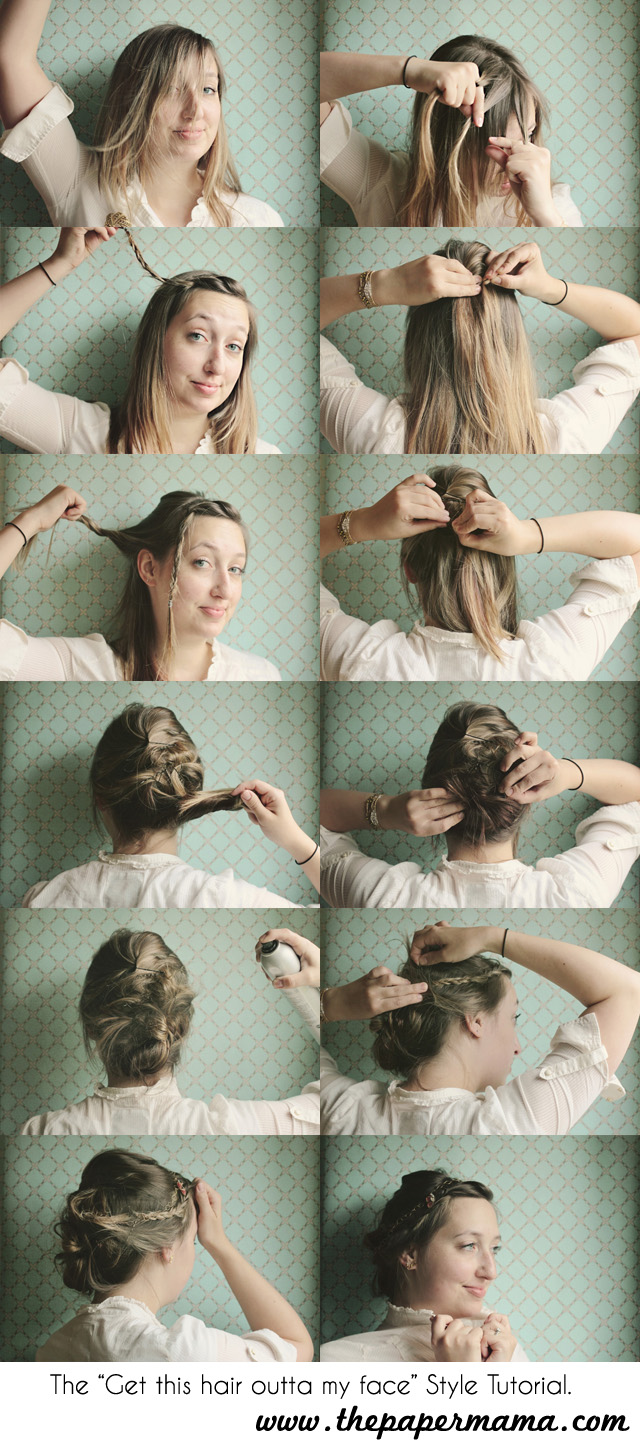
The "Get this hair out of my face" style tutorial.


This is the "hairstyle" I always go to when I just don't want to deal with my hair... but, I still want it to be cute. Also... my bangs are very long right now. I'm not sure if I want to cut them or not... do I want to grow them out? I don't know... :) Here it is:


1. First I french braid my bangs... just to get them out of the way. Of course this step is optional if your bangs are already at a manageable length... unlike my in the middle too long but, not long enough bangs.

2. Pull back a small section of hair on the top of your head... pin it.

3. Pull back another small section of hair from the sides of your head and pin it below the first pin.

4. Take the remaining hair and pin it up as a messy bun. I like to use Spin Pins from Goody. They work awesome! And, if you braided your bangs... you would also pin that back.

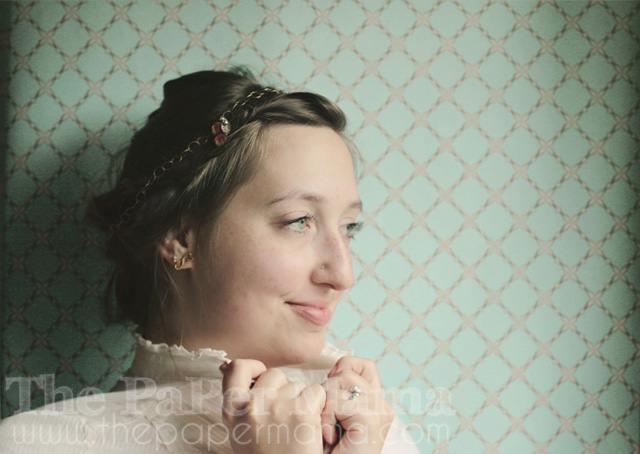
5. Use hair spray... if needed. And, you're done! I like to put headbands/clips and trinkets in my hair... This time I strung a necklace next to the braid.

By the way... this hairstyle is meant to be very messy! I just do this to get my hair outta my face. Don't stress if a few strands of hair find their way out... :D


I believe today is the last day you can vote on Circle of Mom's! I'd LOVE a thumbs up if you can spare one. Thanks!
Vote For Us @ TopBaby Blogs! The Best Baby Blog Directory


Chelsey


.............................................................................

BlogHer 2011!